 This project is basically the result of the fact that my wife likes all areas of our house to be clean, tidy and dust-free. Unfortunately, a cat’s litter box area isn’t often described using terms like ‘neat’ and ‘tidy’ – And it definitely isn’t ‘dust-free’.
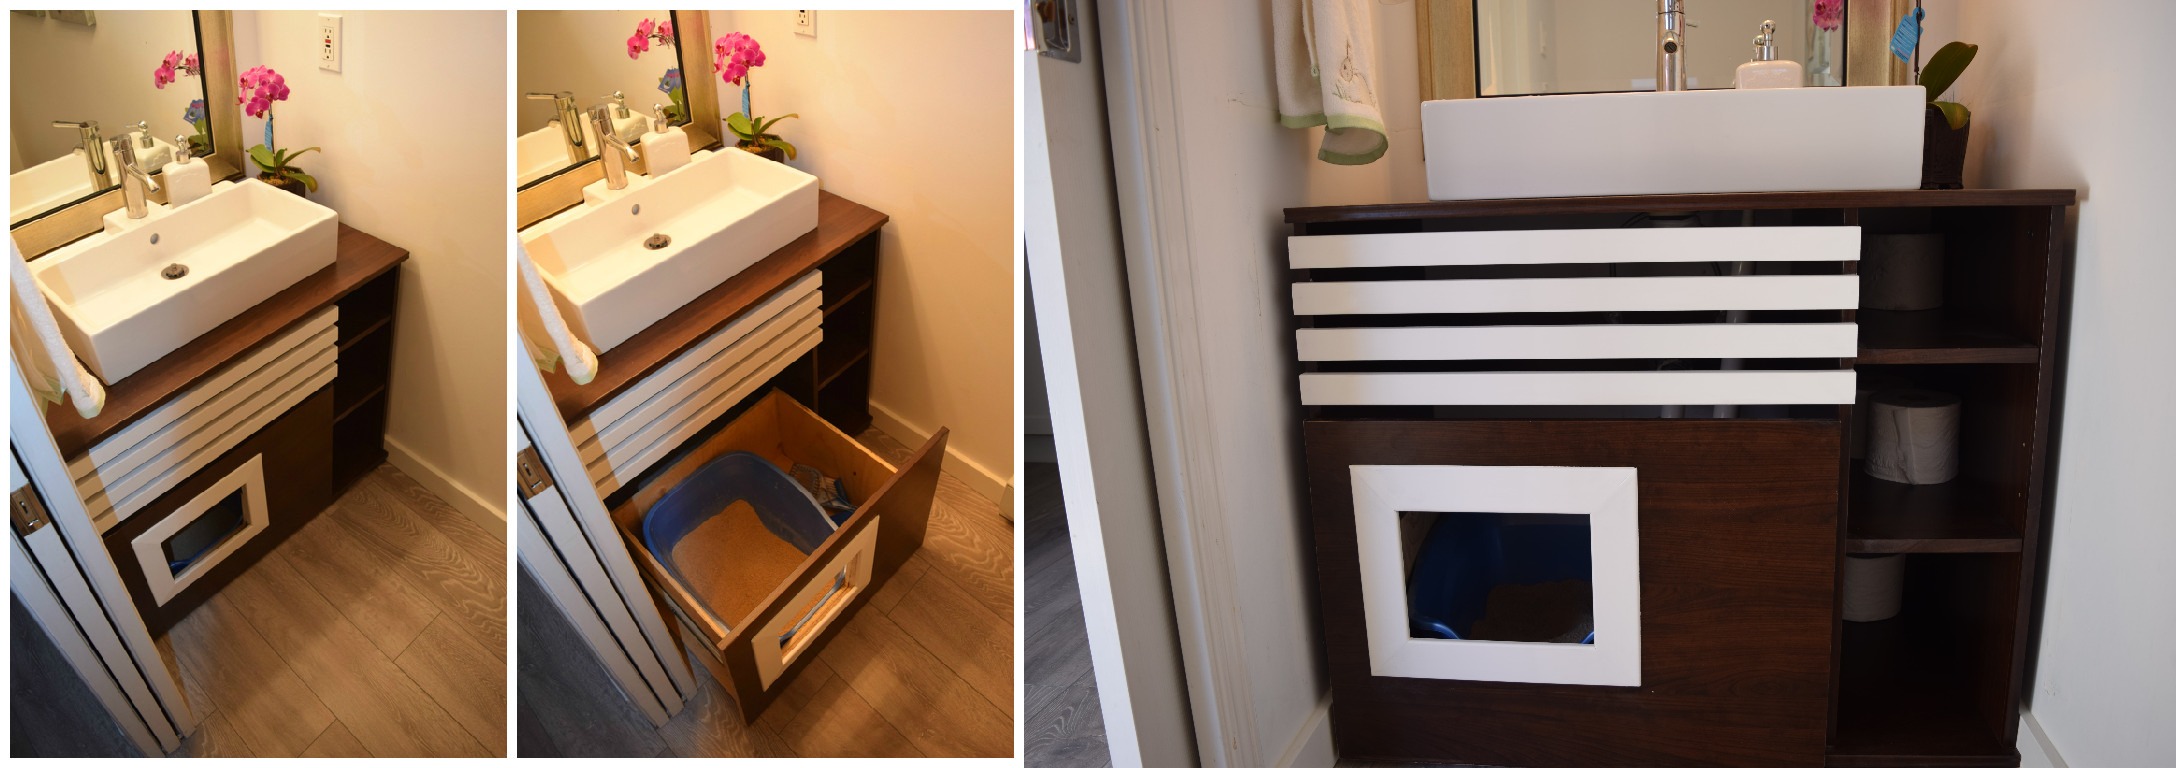
Now, if we had a bigger place and could just stick the litter box in a slightly more inconspicuous location, this probably wouldn’t be necessary. We live in a condo though and the best spot we found for her box is in our powder room. Of course the powder room is frequented by guests when they’re over and litter boxes aren’t exactly beautiful.
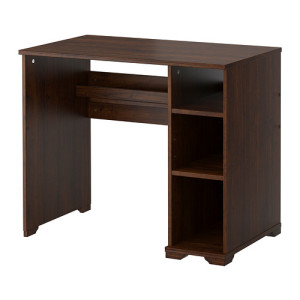
Every project is obviously going to be slightly different. We had a blank slate to start with when we ripped everything out of this small bathroom and replaced the floor. The cabinet we opted for was actually the IKEA computer desk you see below. If you want to copy our idea vertabim – please do! Or if you’re working with an existing cabinet or other unique conditions, hopefully you’re able to take some of our ideas and adjust them for your space.
Anyway, in order to successfully complete this project, you’ll likely need a handful of things:
- an obedient, easy going cat
- a cheap computer desk
- half a sheet (4’ x 4’) of ½” plywood
- two side mounted drawer slides
- moulding/trim
- miscellaneous fasteners
The first thing on this list is critical. People that know a heck of a lot more about cats than I do will tell you that any sort of hidden litter box contraption is a bad idea. They’re reasoning is sound and should be strongly considered before deciding to start this project.
Basically, while doing their bathroom business, cats are prone and vulnerable. Multiple escape roots out of the area offer them a great deal of comfort. Of course they need these escape roots because their primitive jungle animal roots still exist and hey fear getting ambushed by a pack of wild dogs… So considering this, the ideal litterbox would be the size of a backyard sandbox and sit in the middle of a huge room. It definitely wouldn’t be a dark cabinet with only a single small escape route.
So if your cat is an easy-going angel like Sandy, this project may be right for you and your pet. If you’ve got a cat that’s slightly more tightly wound, you’re likely better off dealing with the minor headaches of a more exposed litter box. Remember that the worst case scenario would see your cat not using the litter box at all… Not good.
The other stuff on the list is fairly straightforward. As I noted, your space + existing conditions are going to be different. Have a look at the different components and the building process below for some inspiration.
Making the drawer
One thing amateur hacks like myself often struggle with are drawers. If you’re going to be covering the front with a nice melamine panel like we did though, the base drawer doesn’t have to be pretty. It’s purpose, after all, is to hold a box filled with cat feces. As long as it does that and slides back and forth easily, you’re golden.
To prep the bottom for the side panels, I used a table saw to cut out channels the width of my sides (½”). Do this by setting the saw blade to ¼” high and running the bottom piece with the guard set at about 2” from the edge of the bottom. You can then flip the bottom and do the other side. This will ensure the drawer is fairly symmetrical with both sides being 2” from the bottom’s edges. Now you have to move the guard a blade length’s wider and repeat. Do this until your channels are large enough to allow the insertion of our sides – ½” in my case.
This sounds a lot more complicated than it is. I used the same process to connect all four sides together.
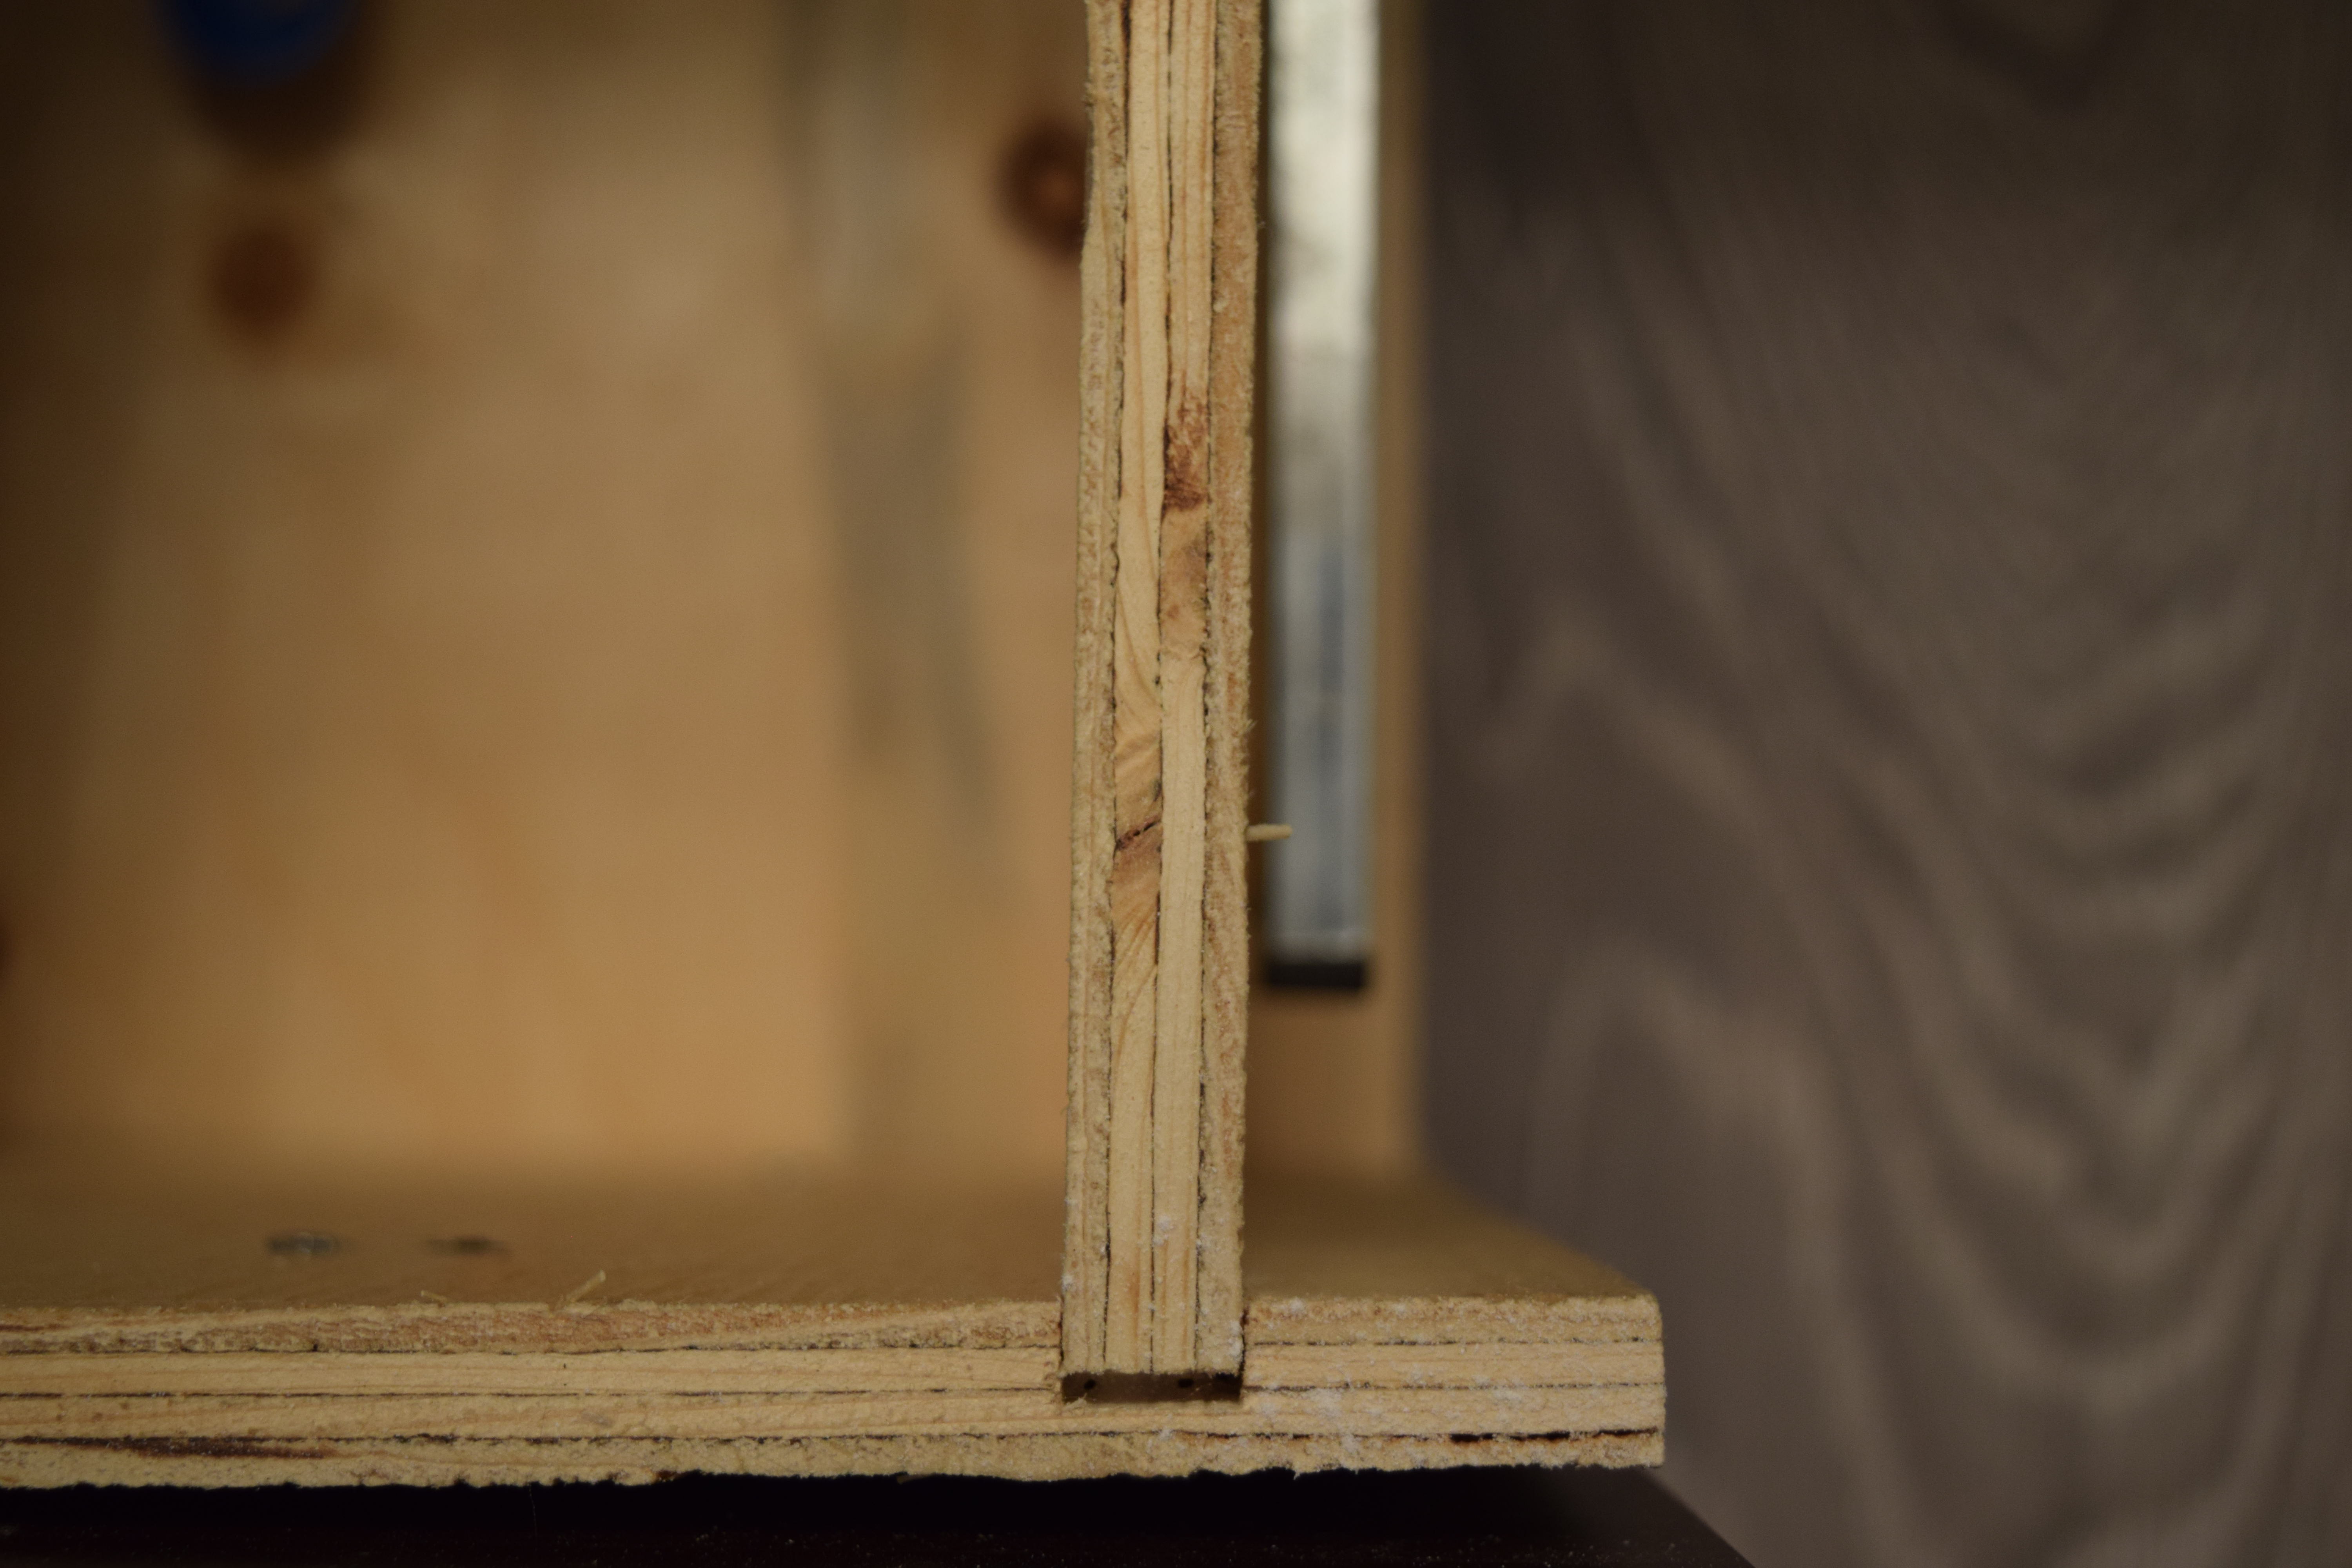
See how the panels sit somewhat neatly in the channels I cut?
To secure this together I used both glue and and small screws. Again, because I knew we were going to cover this up anyway, I didn’t even consider a way to hide the screws. A true craftsman likely has a way to conceal all these fasteners.
Mounting the drawer
This could’ve went smoother. I had some old 18” side drawer mounts kicking around. These come in a variety of different styles and installation methods vary somewhat.
You can see the ones I used sit off the wall about 2”. If the one’s you’re using don’t , you could mount them on some 2” x 2” strips. Or adjust the sides of your drawer accordingly.

Whatever you do, it’s obviously critical that the rails on your drawer and the rail channels on your walls line up. Mine didn’t the first time. Luckily I was close enough to get away with shimming the rails on the drawer out a tough.
![]()
You can barely see it here… The shim brought the rail off the side so I could slide it on to the rail channel
And this isn’t the only measurement you have to get right. Consider the front as well. We were putting a ⅝” panel on the front. I needed to set the front of my drawer back about ⅝” so everything lined up in the end.
The best advice I can give regarding the mounting of the drawer is to take your time. Measure twice (or thrice!) and mount once (or twice in my case).
Cutting the kitty hole out of the drawer
Once the drawer is mounted, it’s time to cut the kitty an access hole. To do this, we first had to determine the total size of the hole required. Then we cut the appropriate amount of material out of the drawer. Because the drawer isn’t that tall, we don’t have to cut out the entire hole – see picture below. I used a jigsaw to do this. It was loud and dusty.
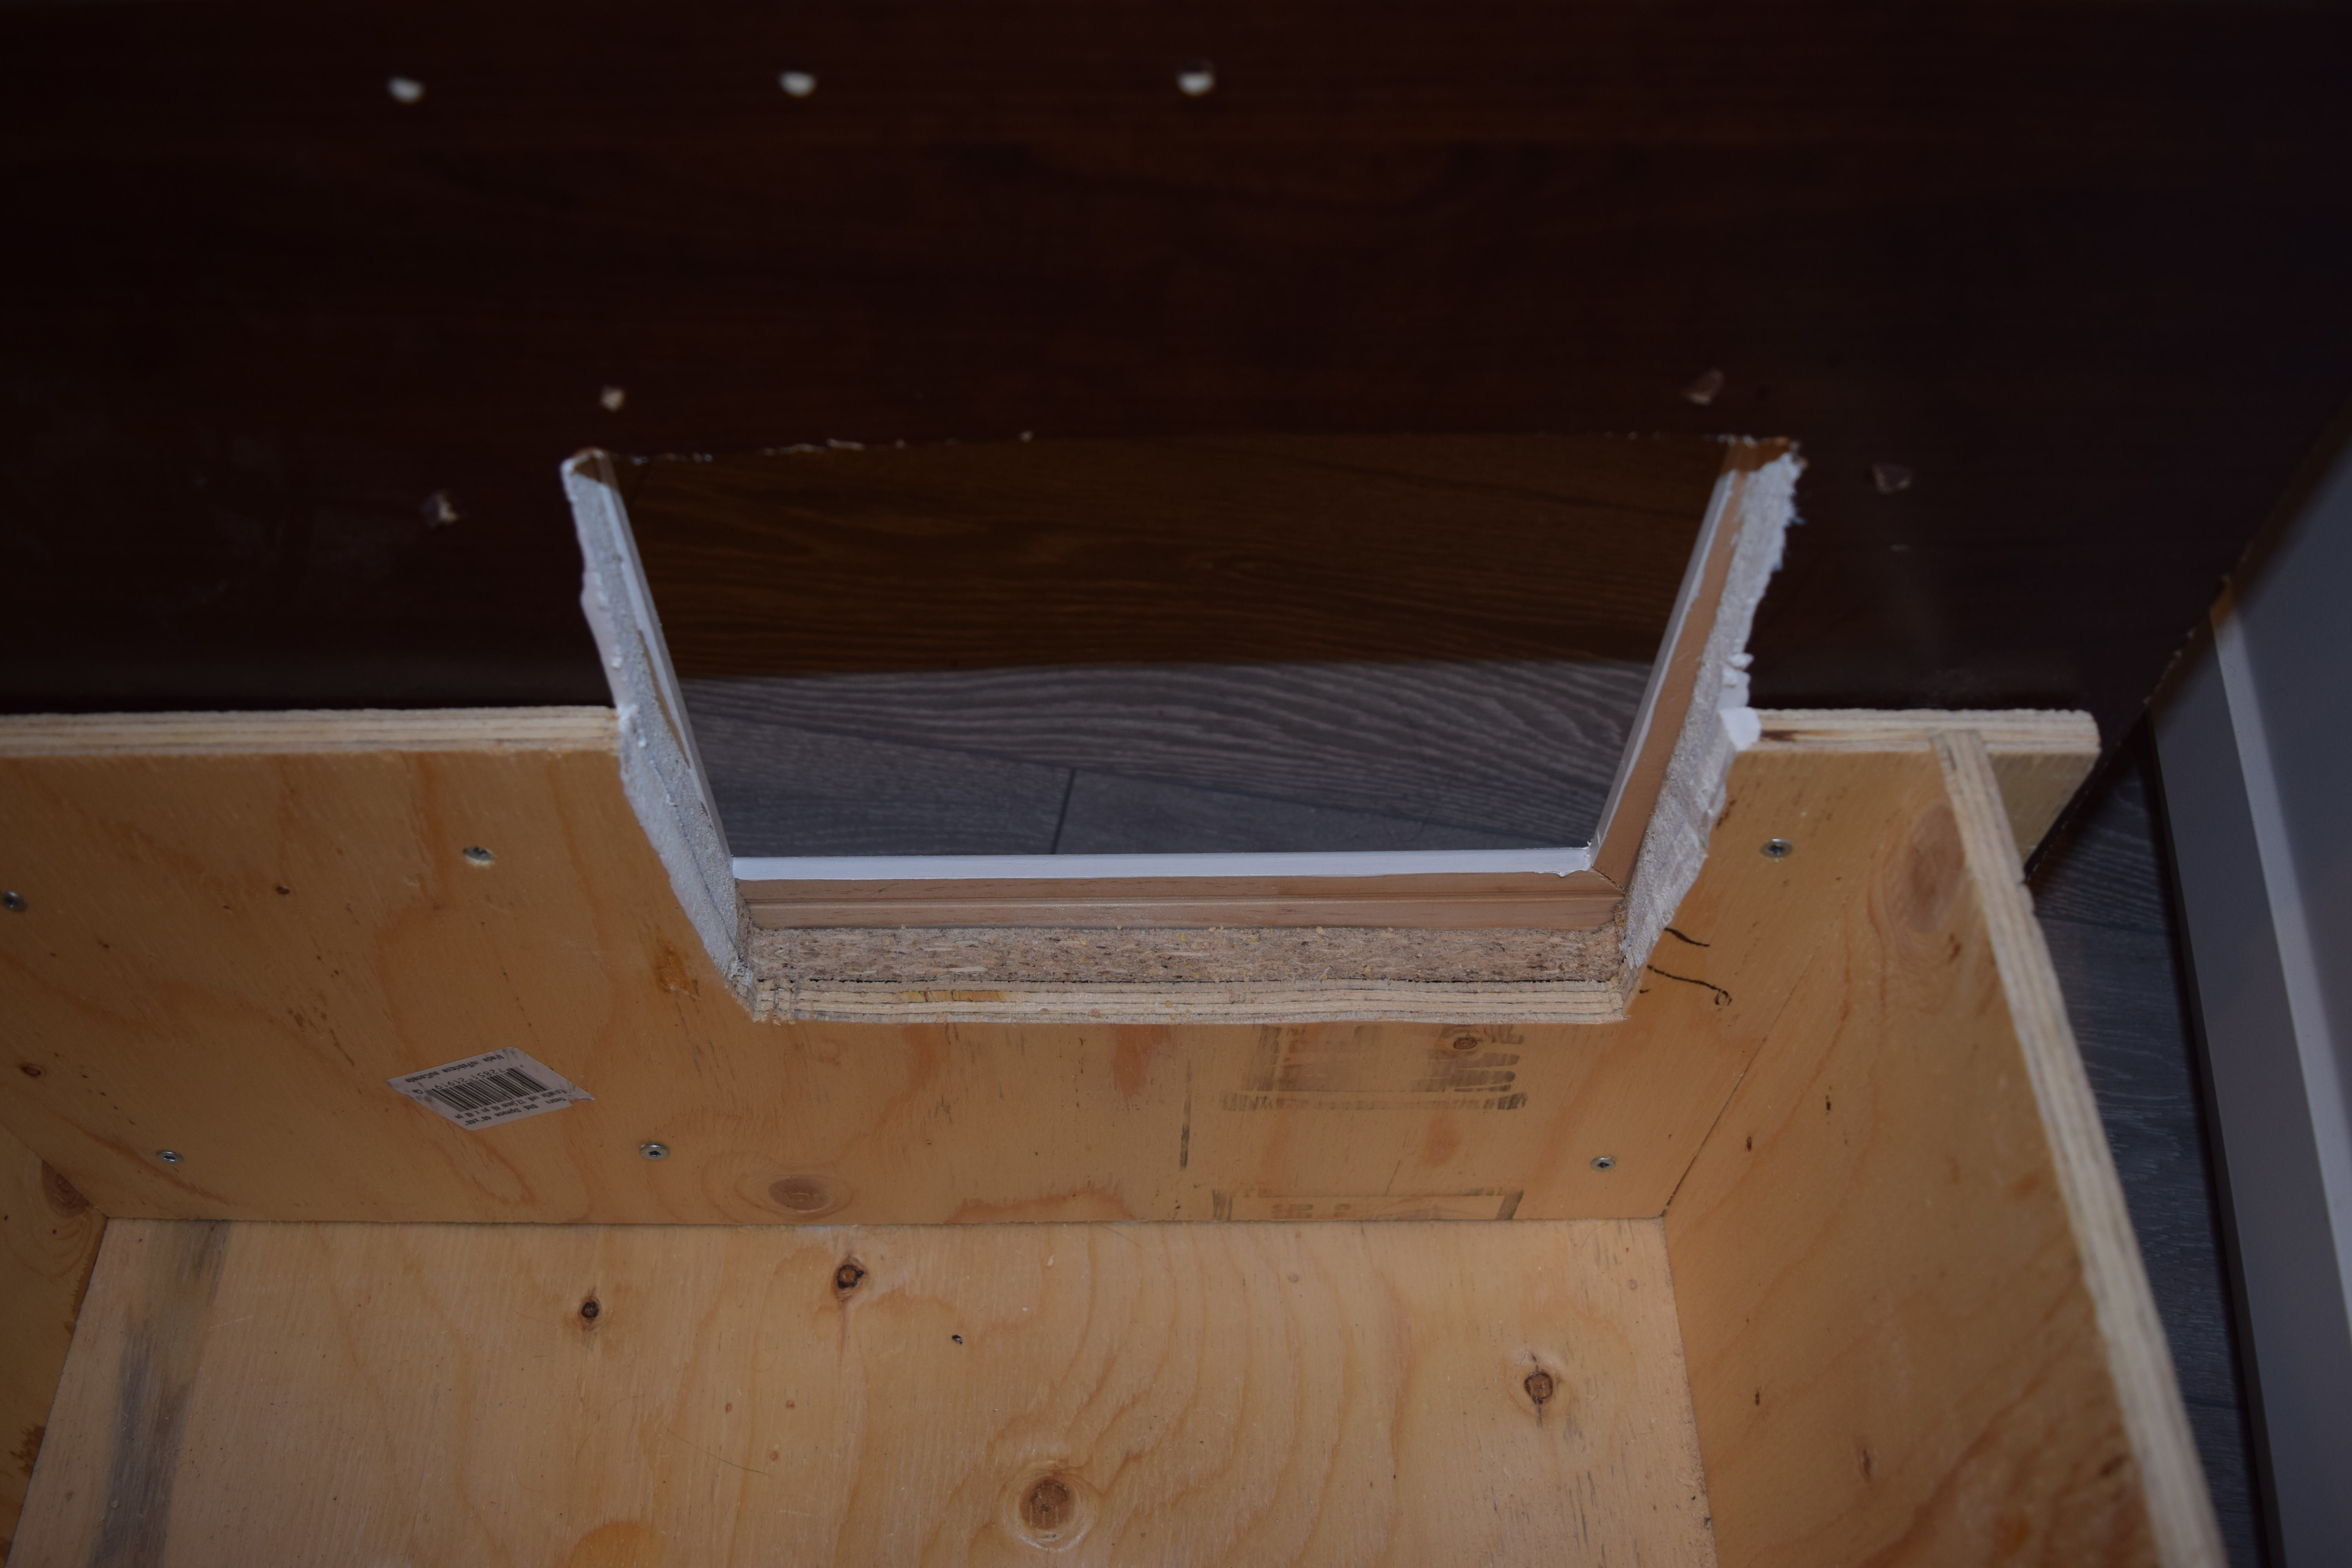
See how the cut out of the drawer is only about half the size of the total access hole?
Putting the panel on the front of the drawer
This was a bit of a pain. I basically held the panel in place while my wife traced out the hole on the back with a marker. She used the cut out of the drawer as a guide and basically continued it up.
I then used the trusty jig saw to cut the hole out of this panel.
Mounting it was another hassle. We back fastened it (through the drawer into the panel). Again, find a partner. One holds the panel in place, one drills.
You’ll probably have to smooth out the hole edges with a jig-saw once the front is mounted (unless you really nailed the size and shape of your panel hole).
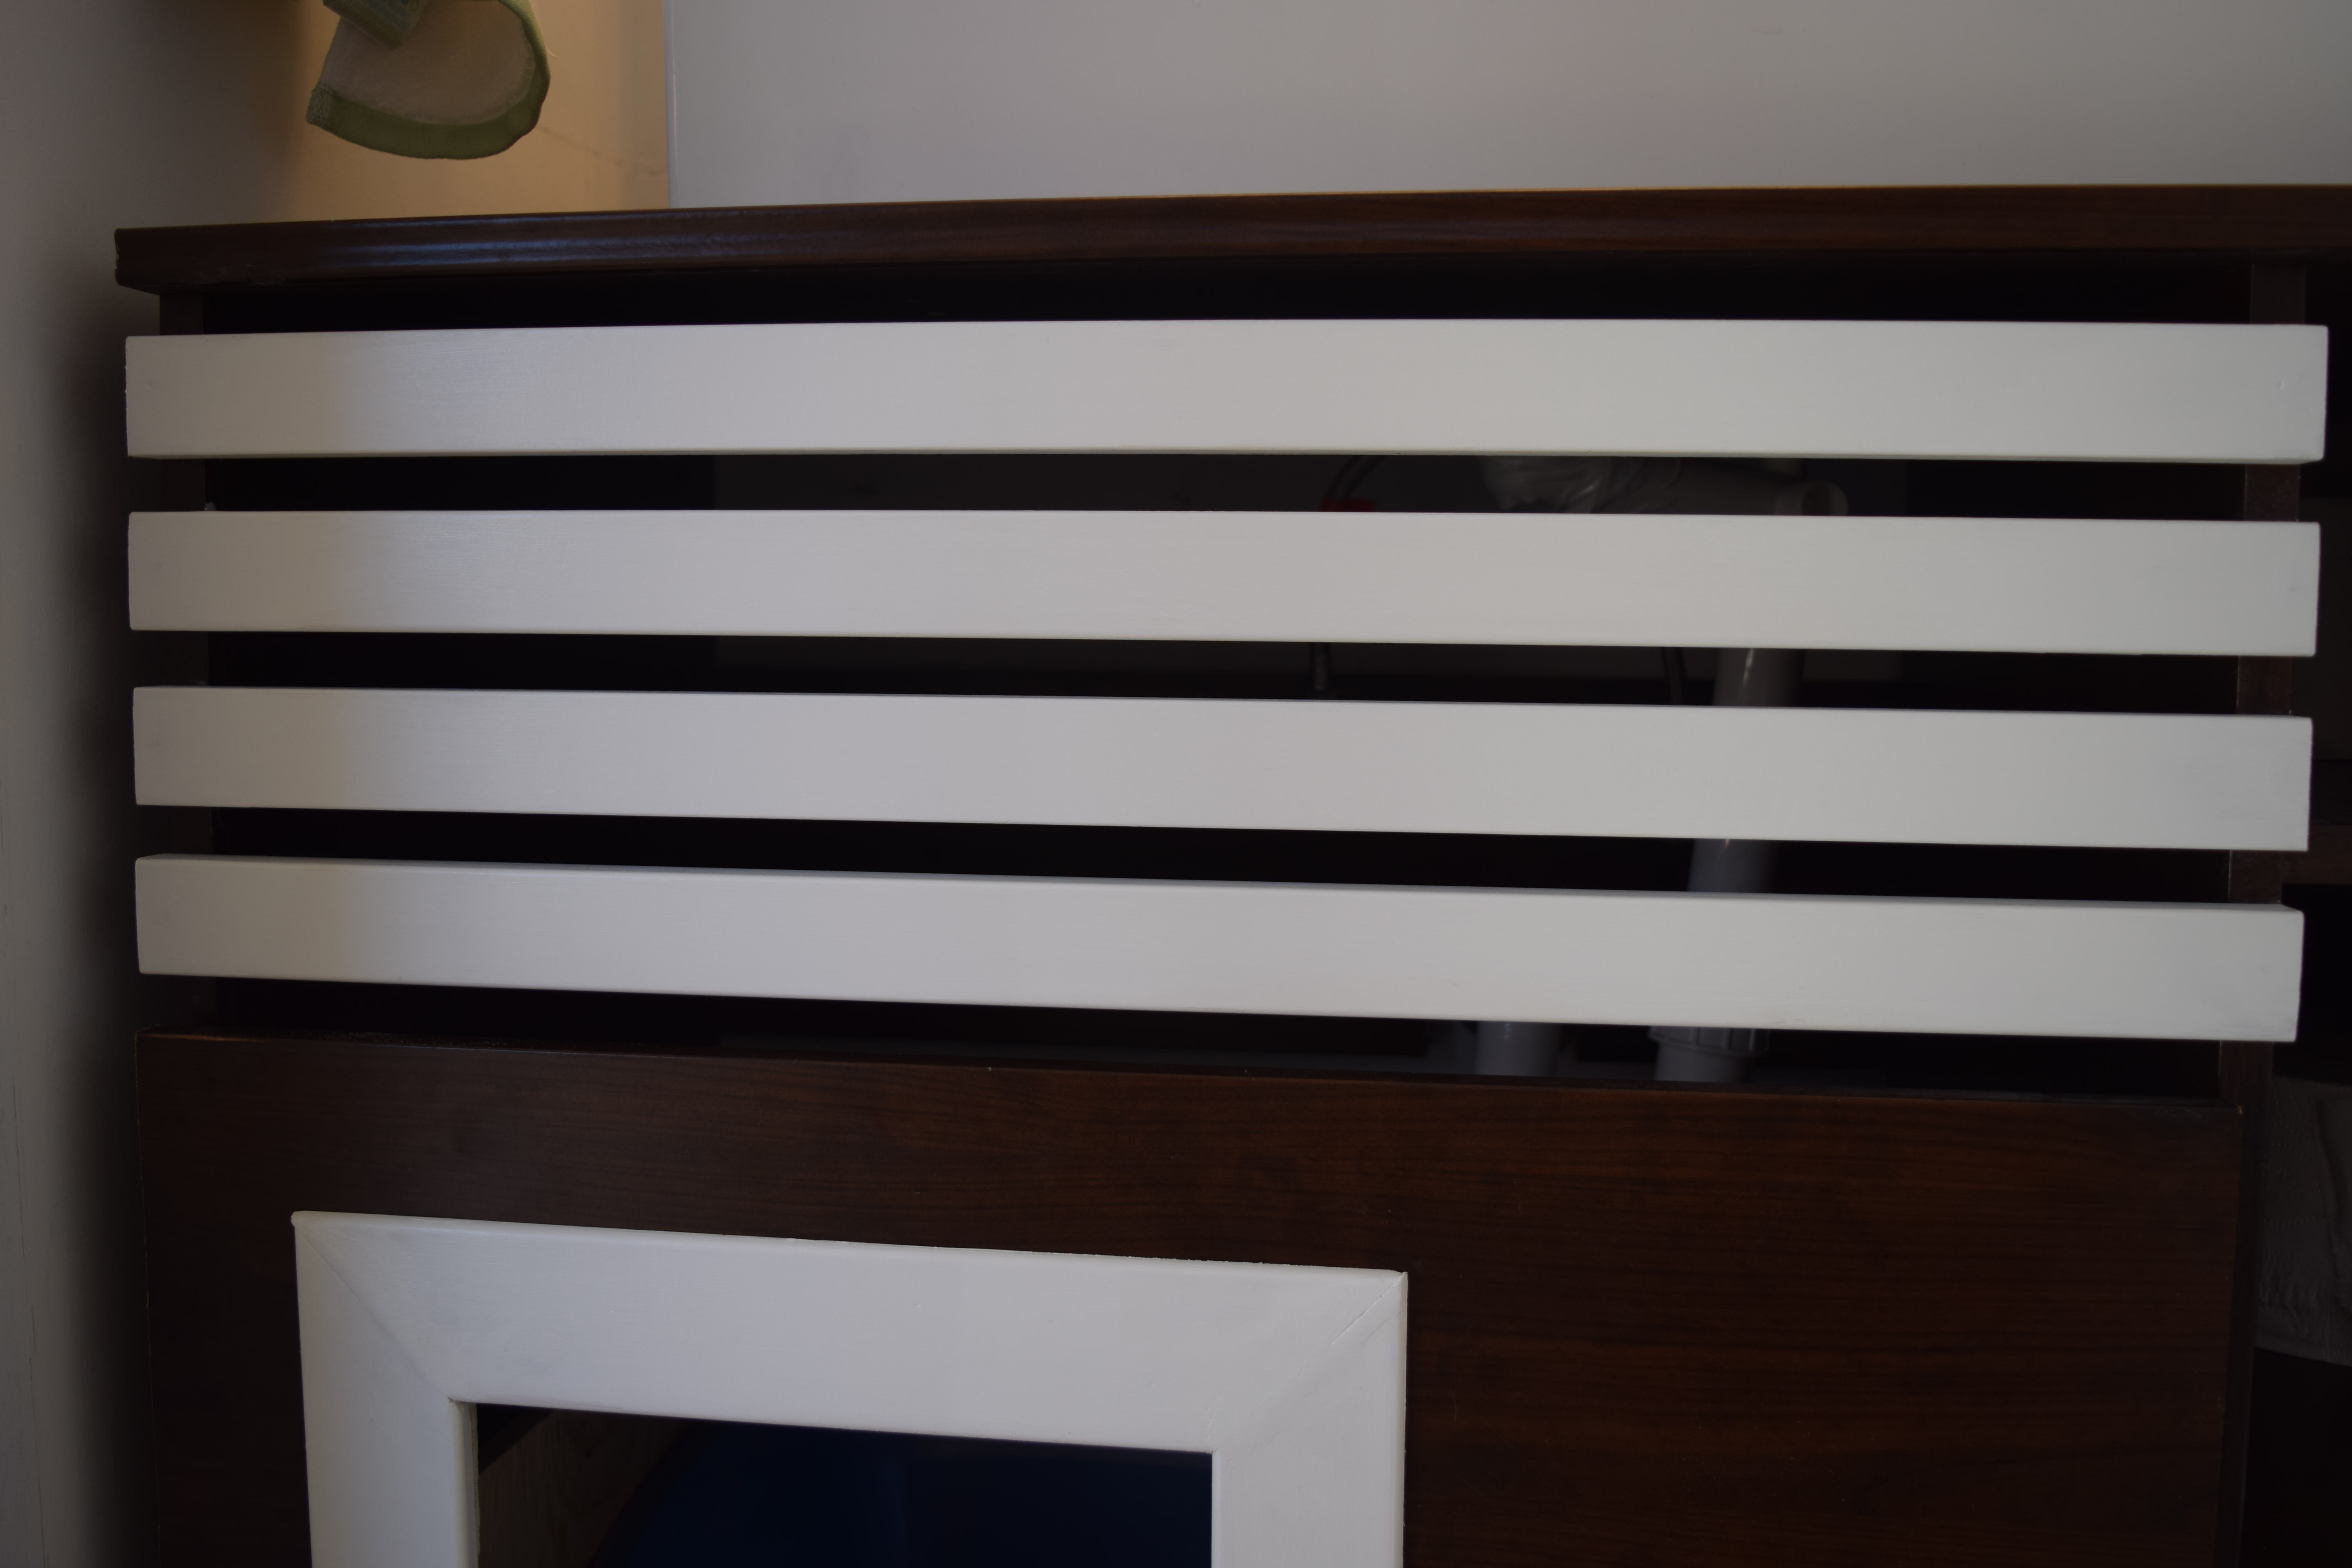
Finishing touches
This was all my wife. We opted for a simple white trim around the hole and a couple strips of moulding above the drawer.
And so far, this little lady seems to like it as well!